Design an Album
Creating an album design is easier than ever.
On this page:
What You'll Need

WHCC Account No. and Password

A Folder of Images
JPG Files
Start with a Project
If you already have a project you can enter that one, or you can make a new one by clicking New Project.
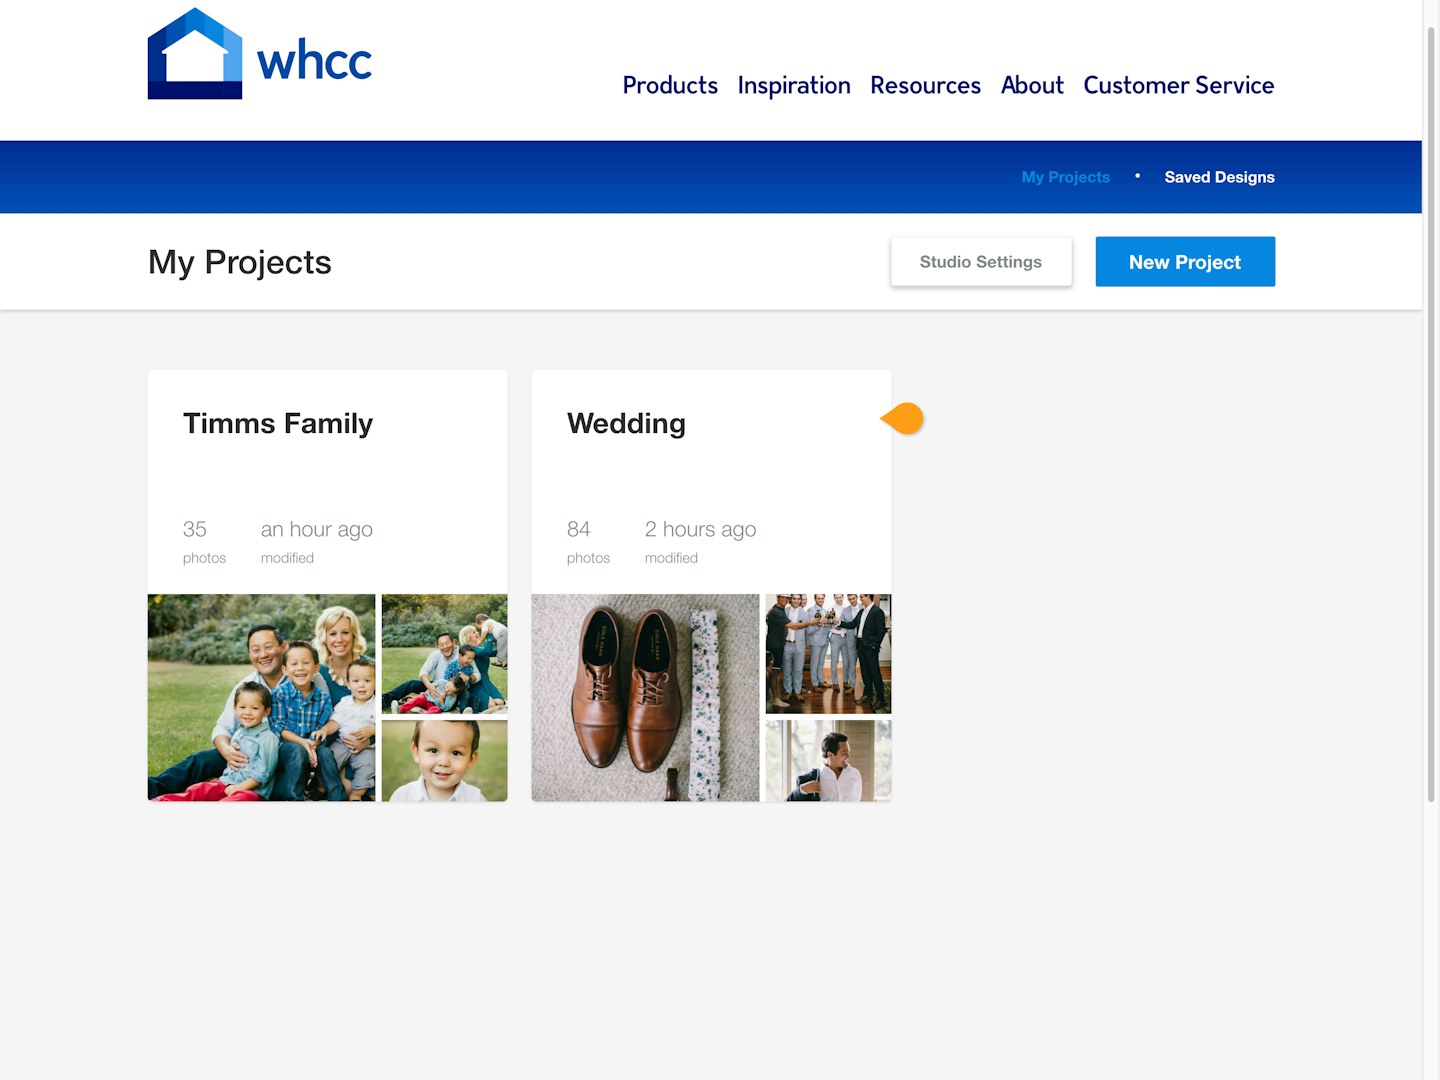

Pick an existing project.
Create a New Project.
Album Editor
Once inside a project, you will either see an Albums icon or a drop down menu that will let you browse the available products.
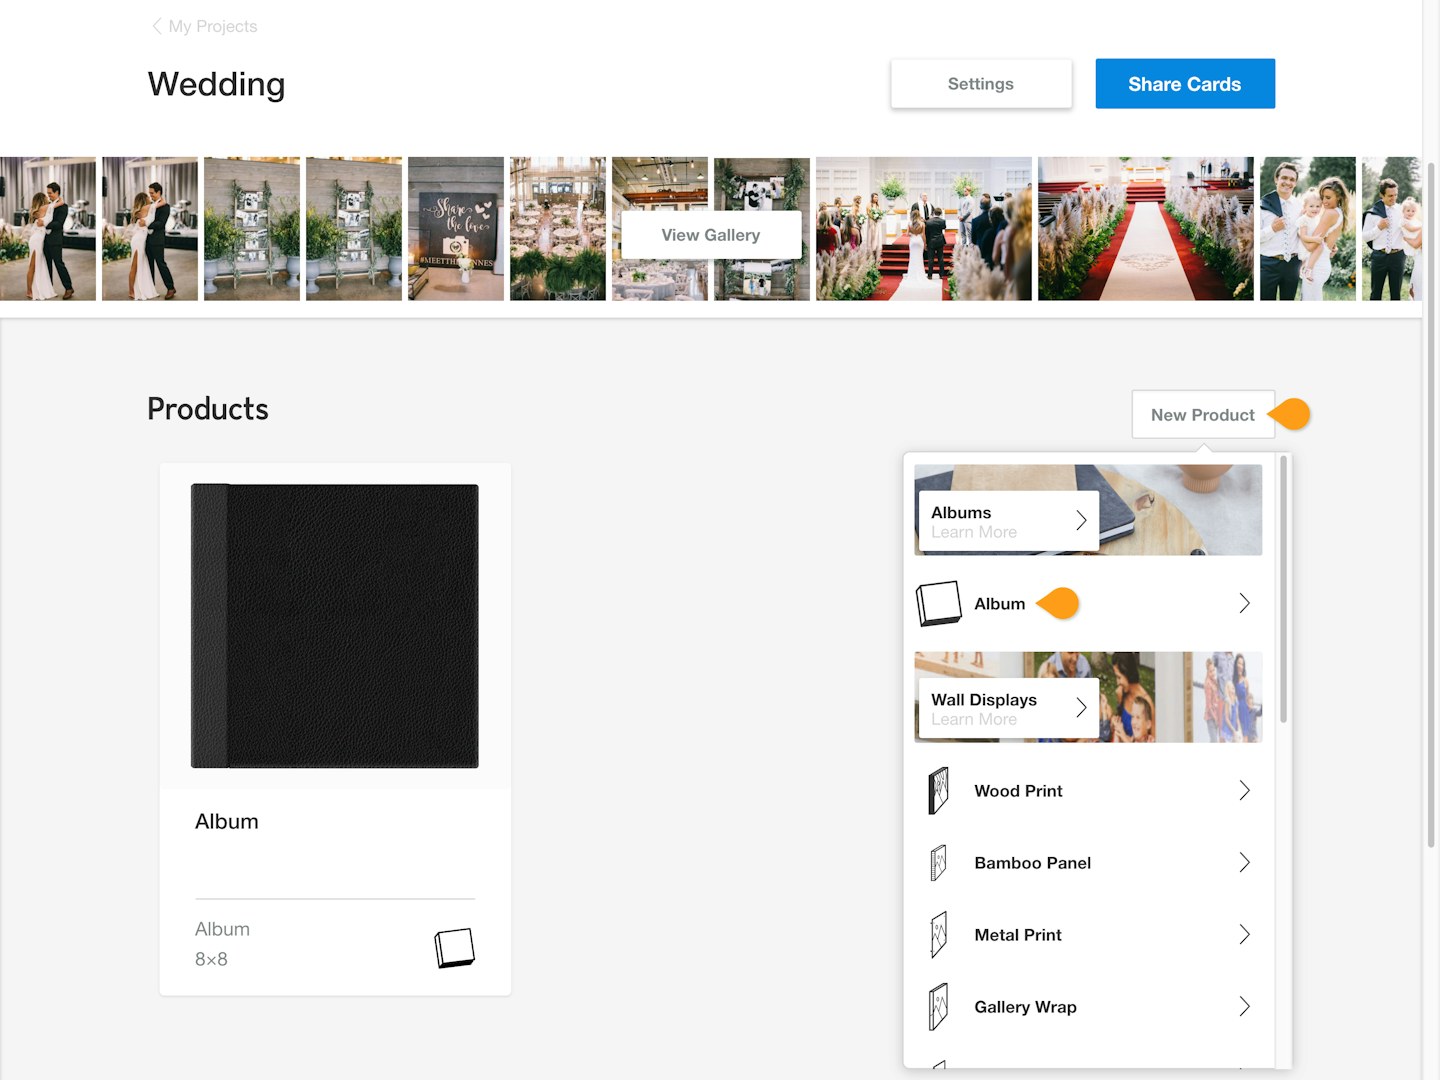
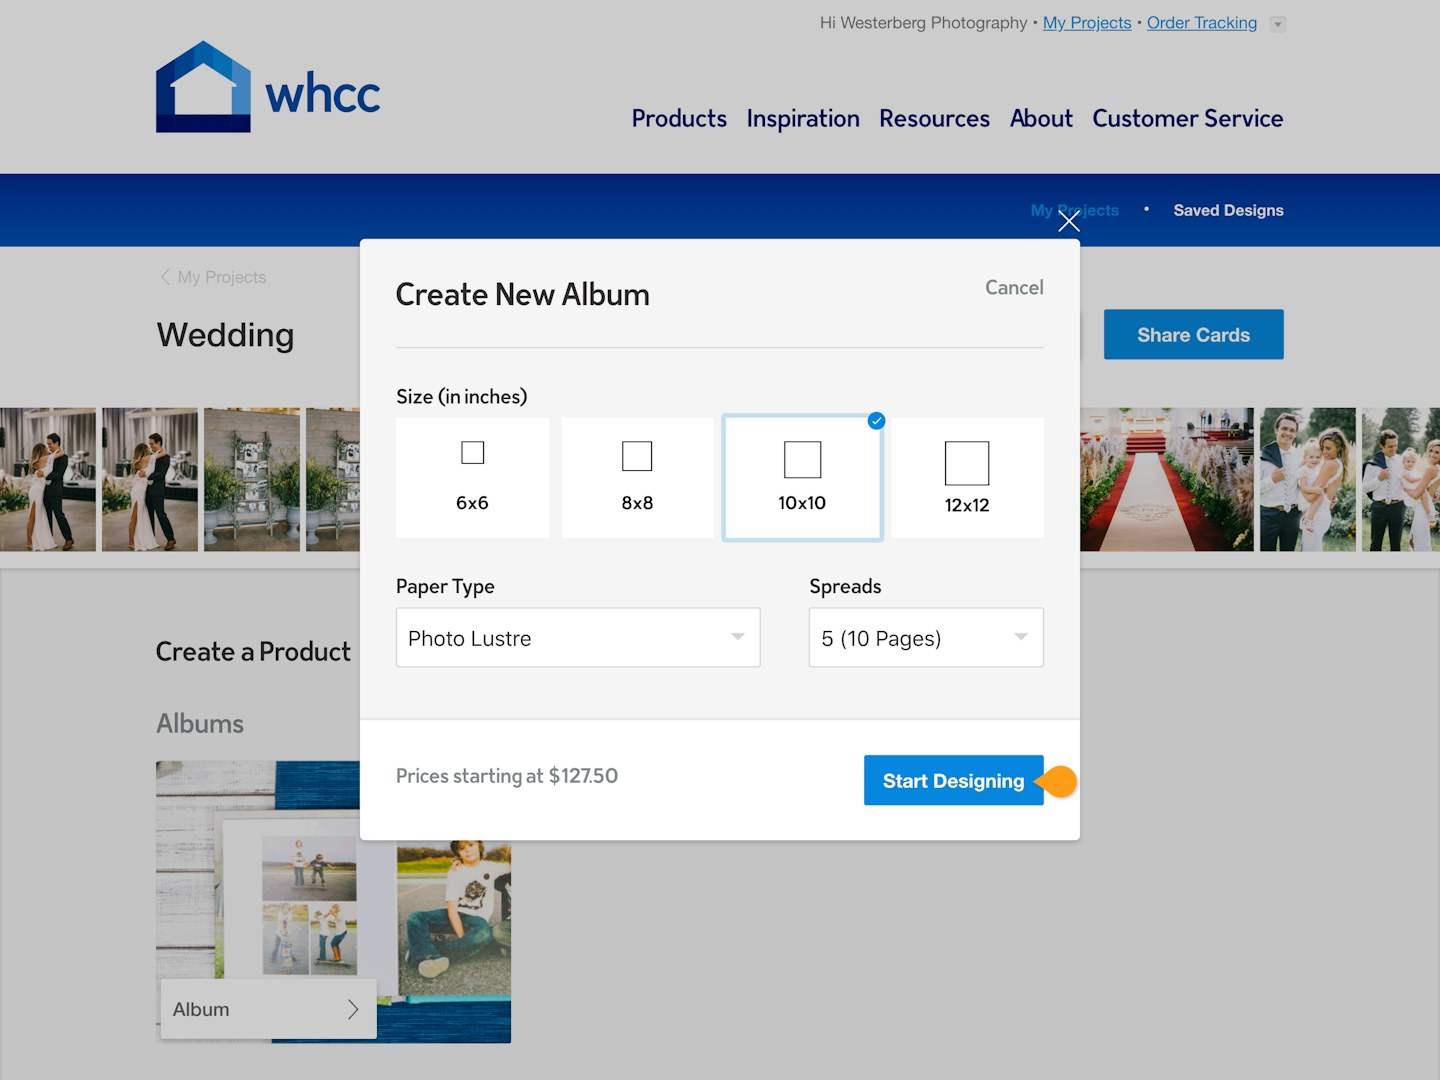
Select the Album product
Selecting your starting album size and spread count.
Cover + Endleaves
When you enter the editor you will have a few initial choices to make, including your cover and endleaf selections.
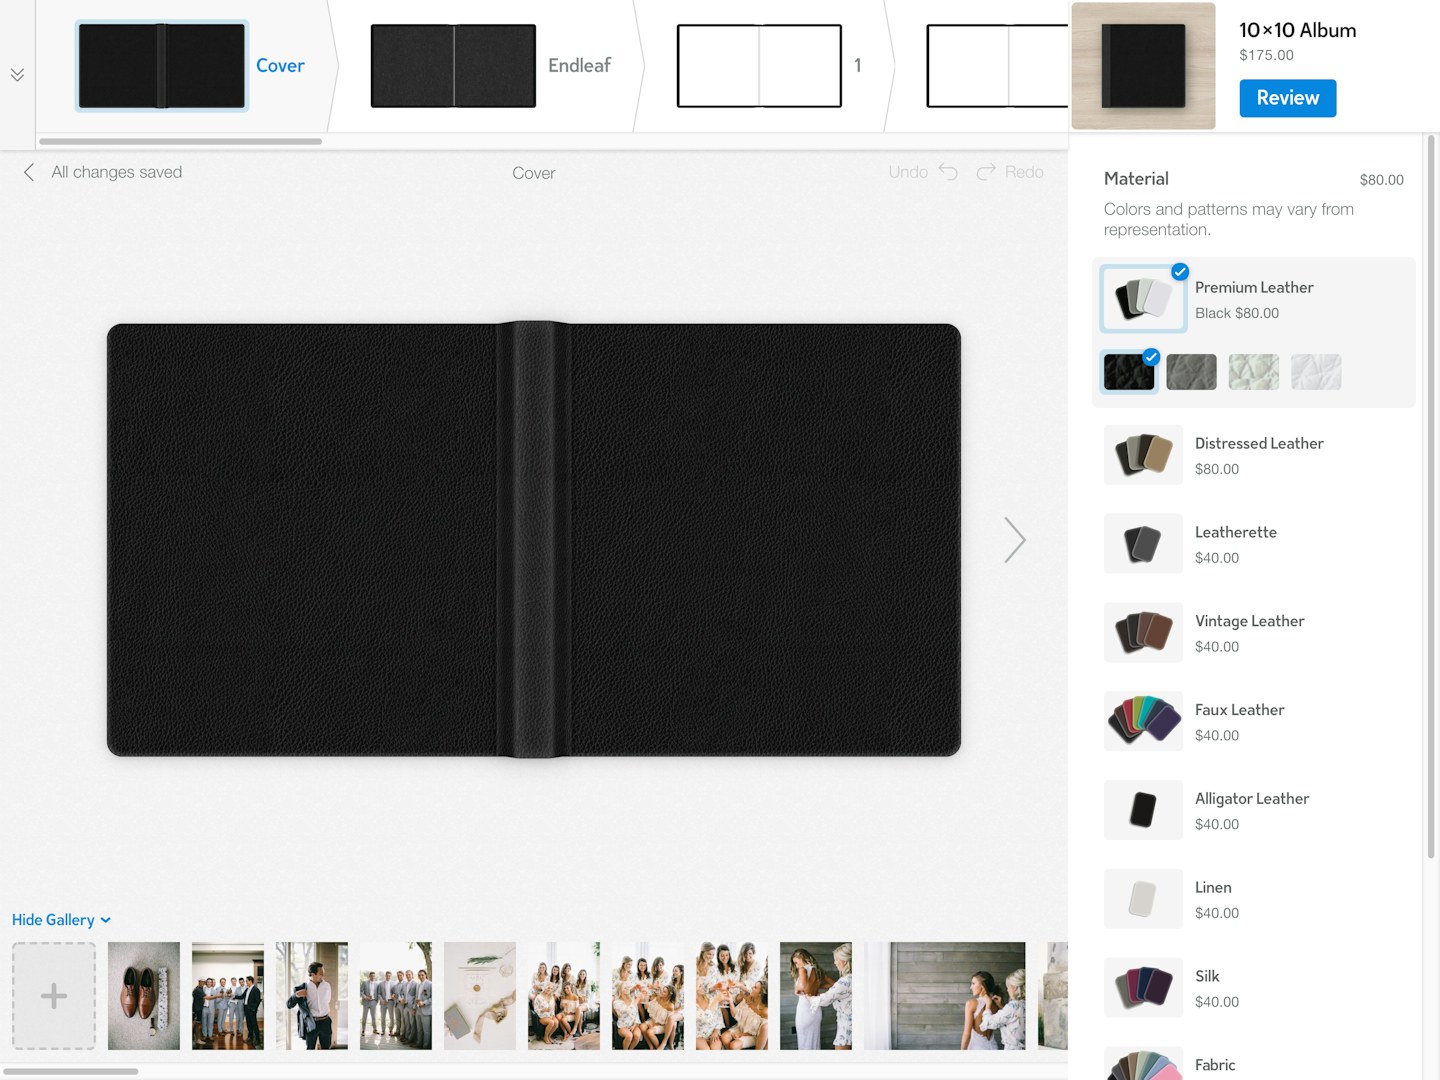
Preview and select your favorite cover
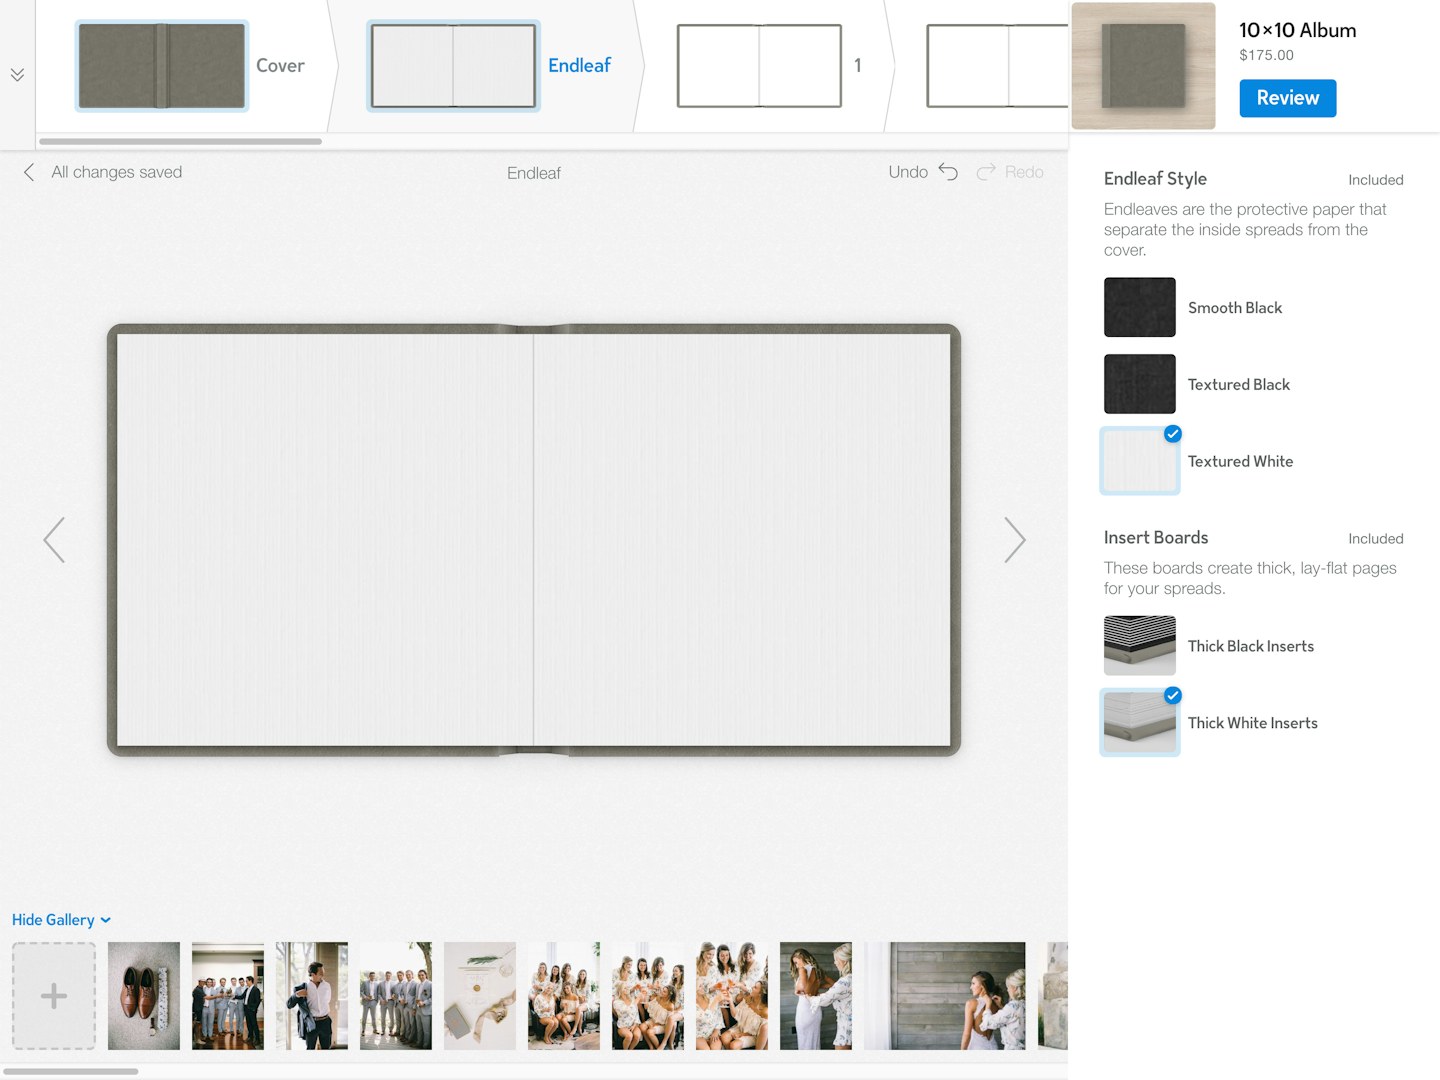
Choose your endleaf and board color.
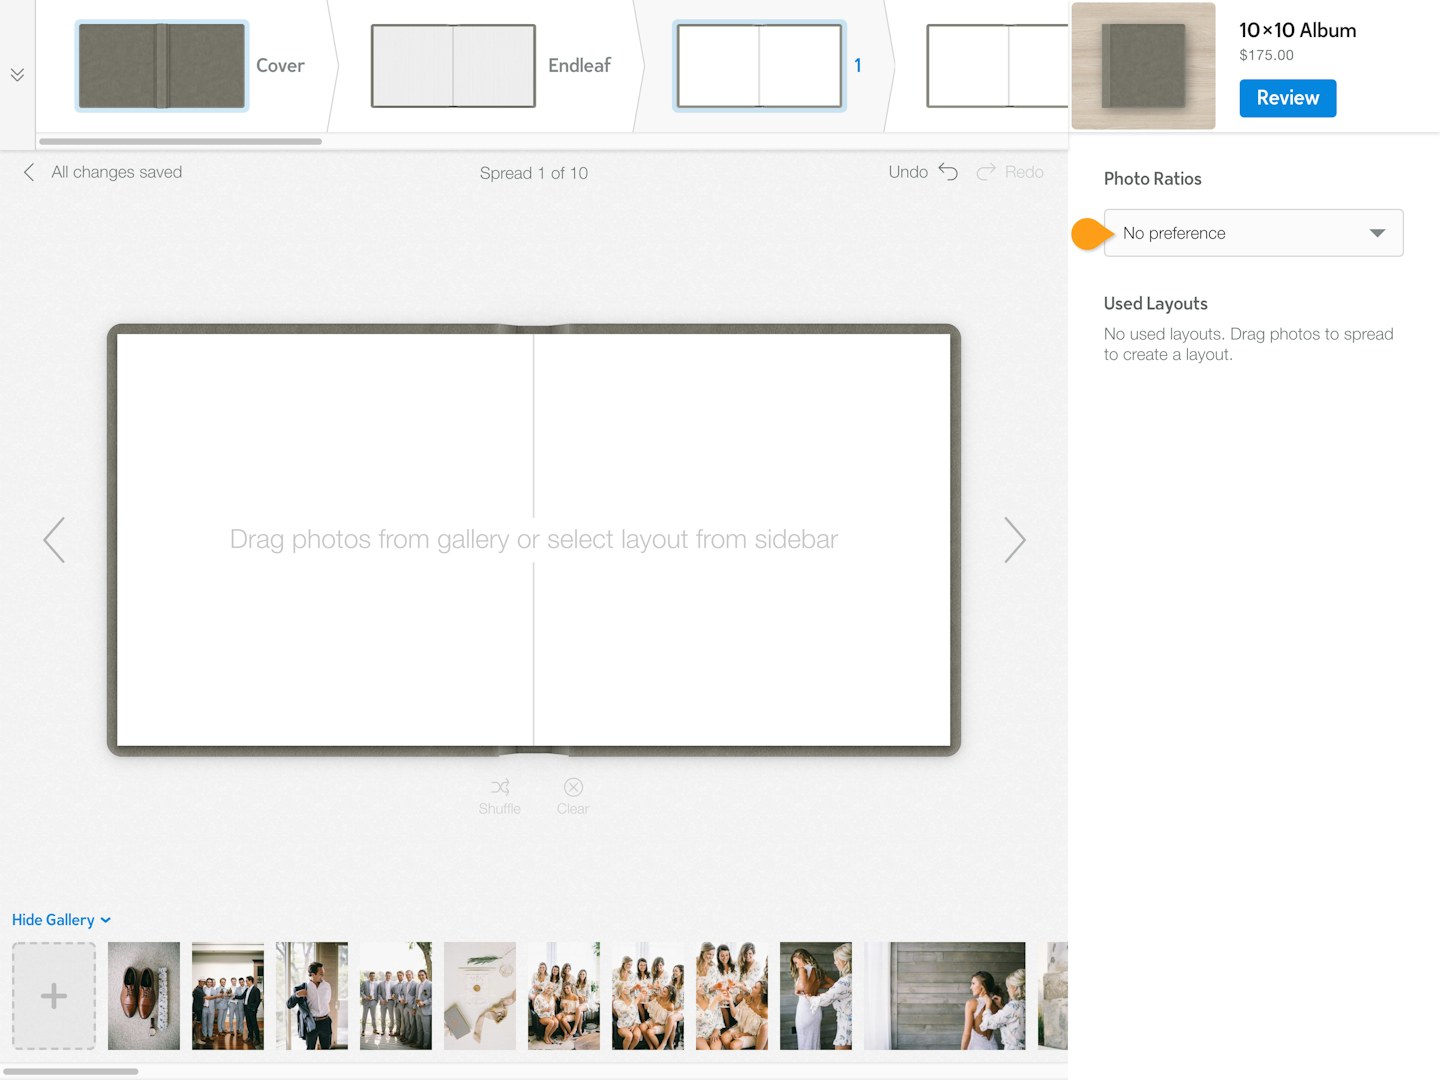
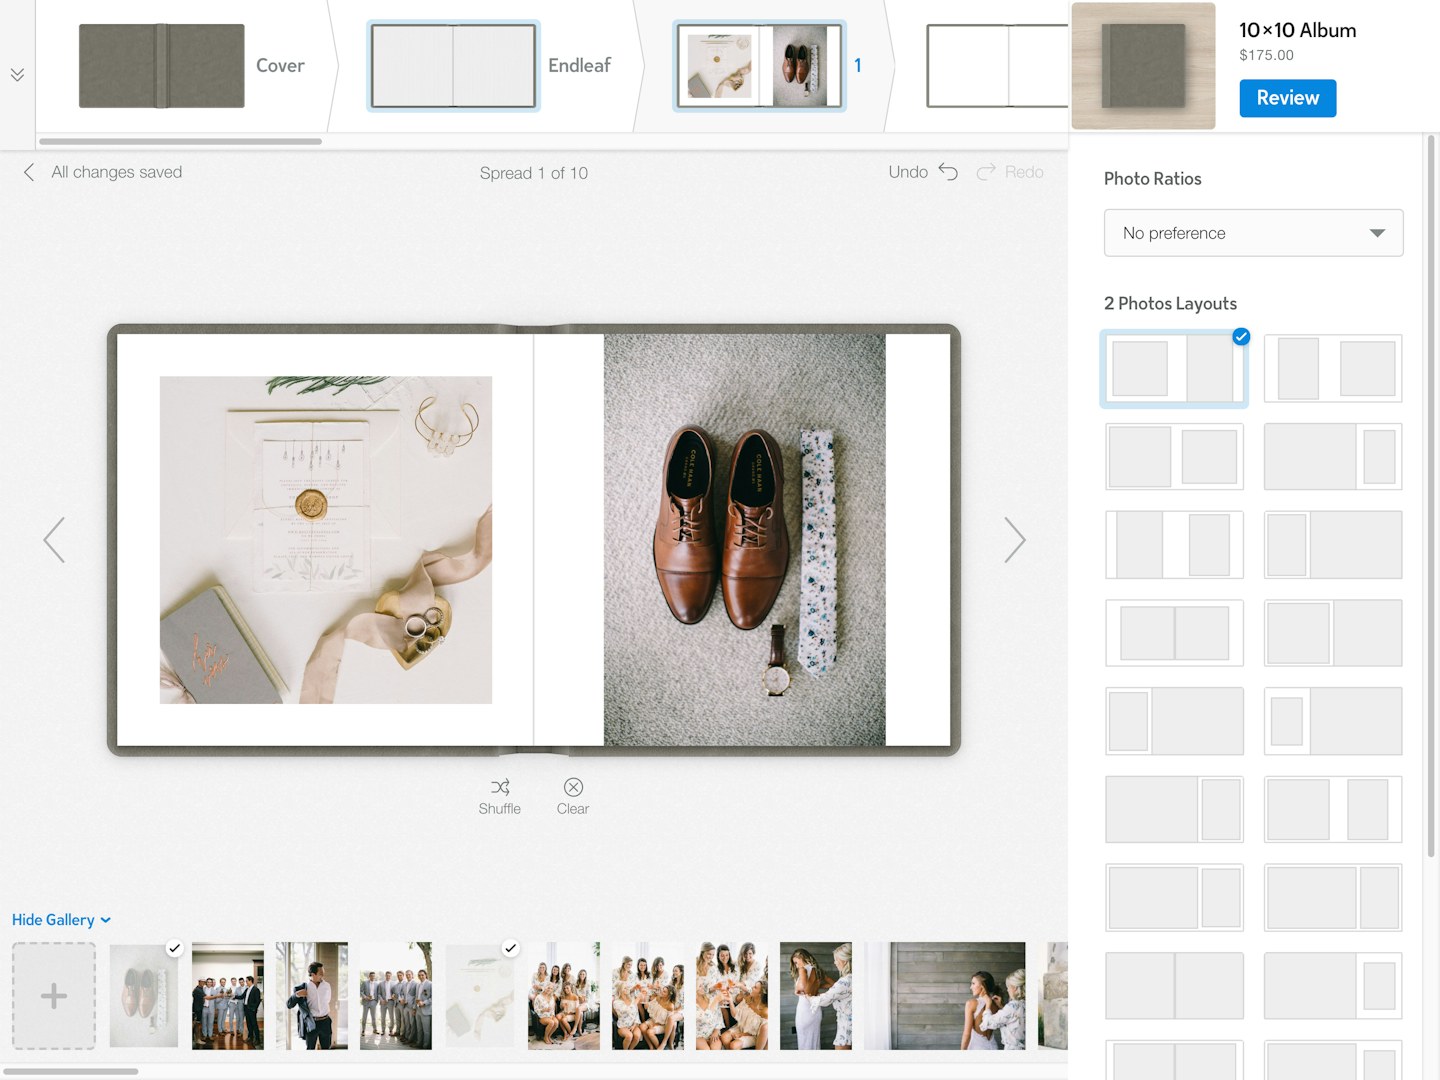
Specify your preferred Photo Ratios in this drop down before you get started on your collages.
Create your Spreads
To create your spreads you will use a drag and drop process. You can select multiple images at once from your gallery by clicking on them to select them and then dragging any of the selected images up onto your current spread.
If you drag specifically onto the left or right page it will add your images only to that individual page. If you drag images into the center of the spread it will fill your entire spread with images.
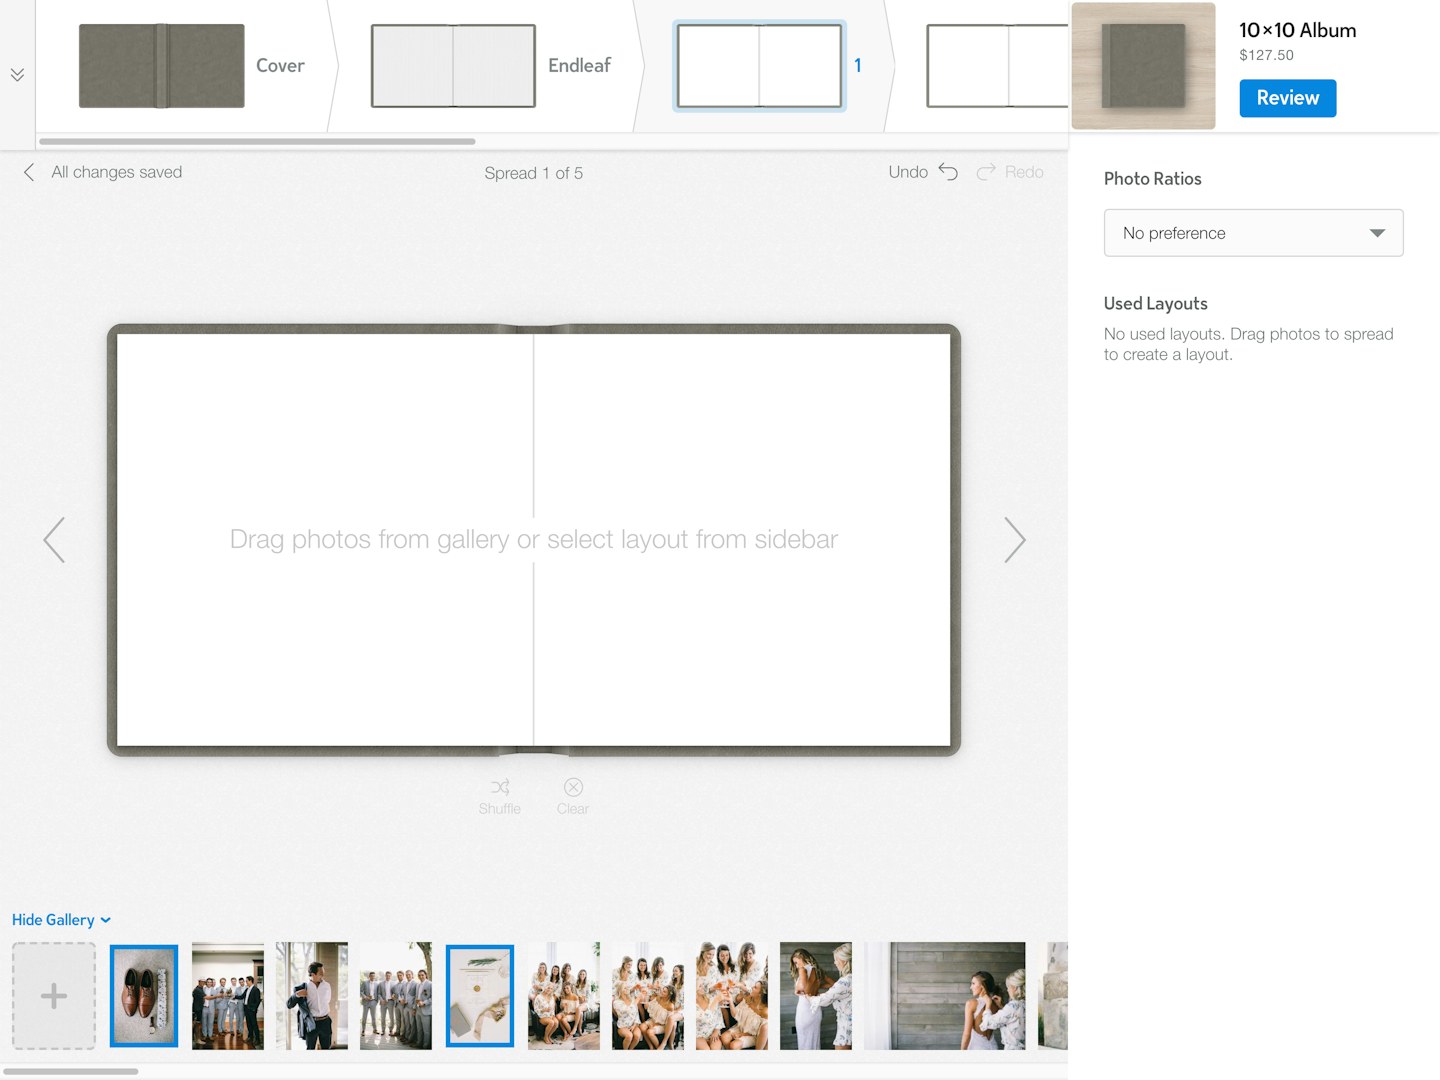
Select and deselect images by clicking them.
Drag images onto your spread.
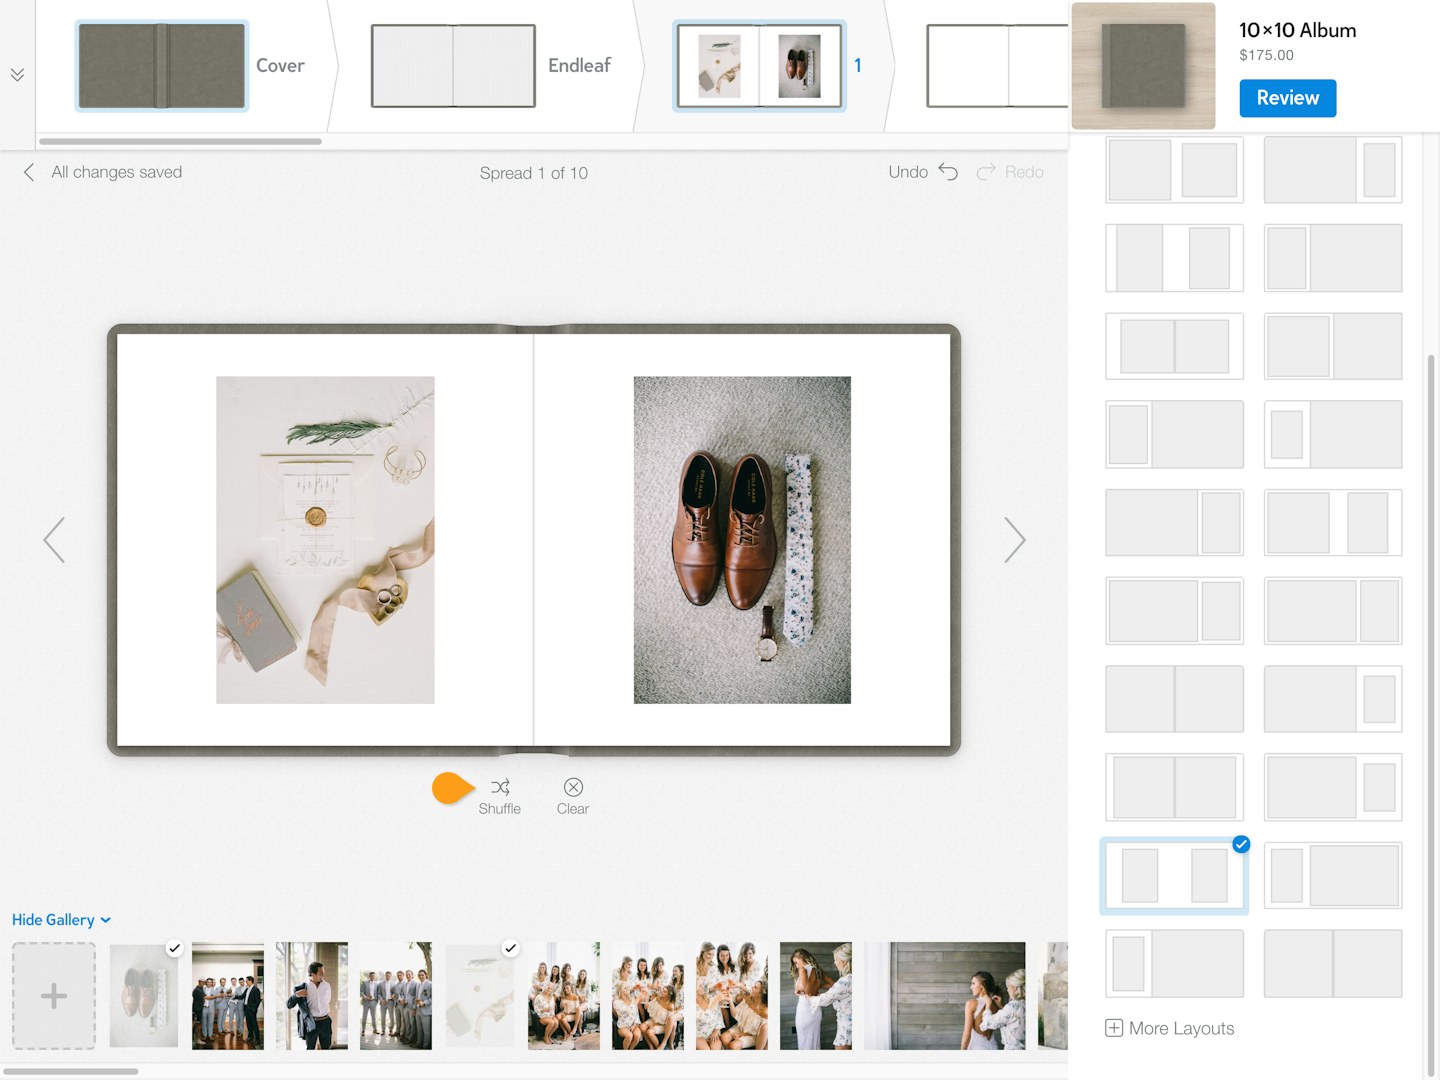
Select new layouts from the menu on the right or by using the Shuffle tool.
Edit your Spreads
You can select new spreads or use the shuffle tool to randomize the choice until you file the selection you prefer. Click the + More Layouts tool to see more combinations.
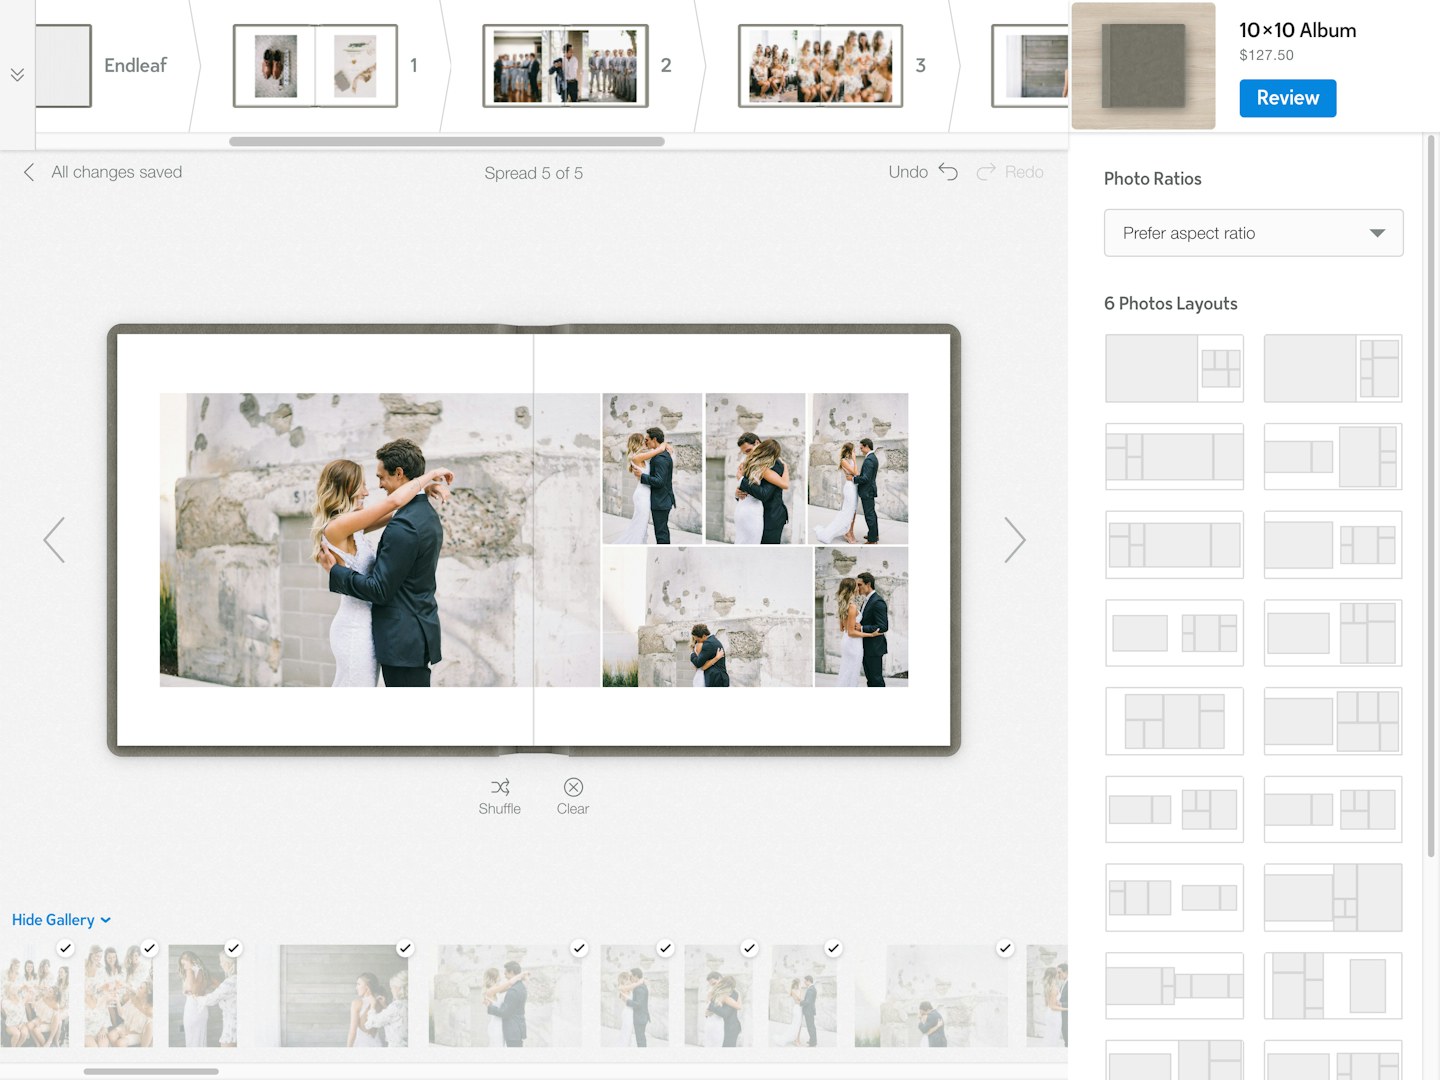
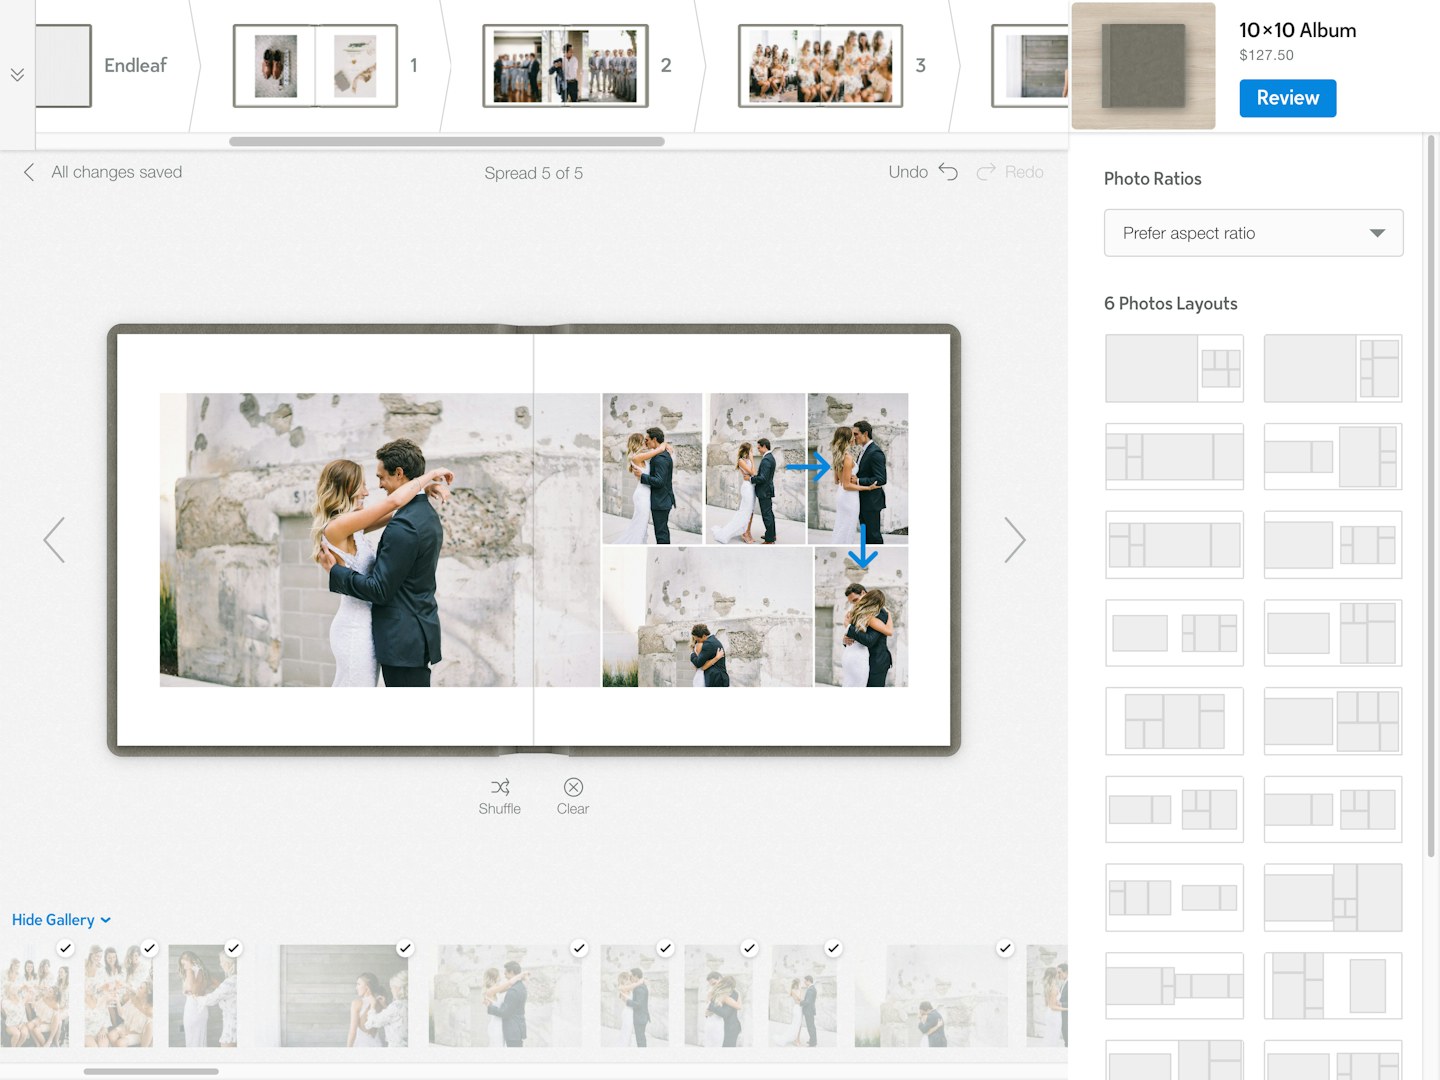
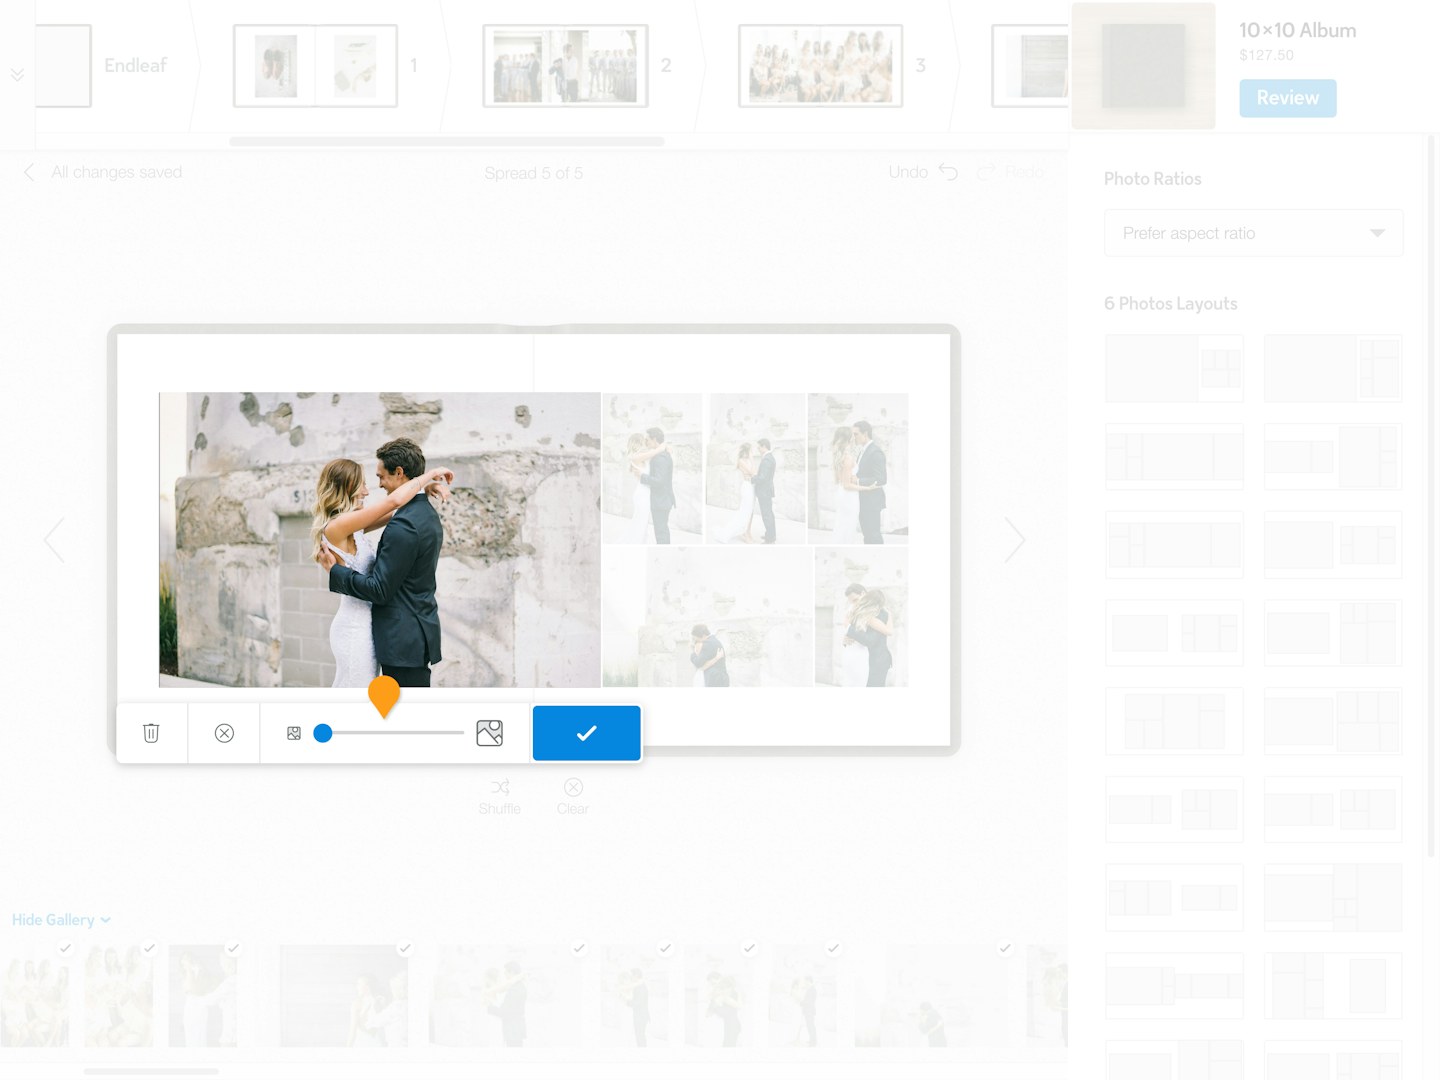
Clear images, or move them by swapping them with other images in the layout or with images from the gallery.
Click and drag an image onto another to swap it.
Select an image in the spread to edit the crop or delete it from the layout. You can also delete images using the Delete key on your keyboard.
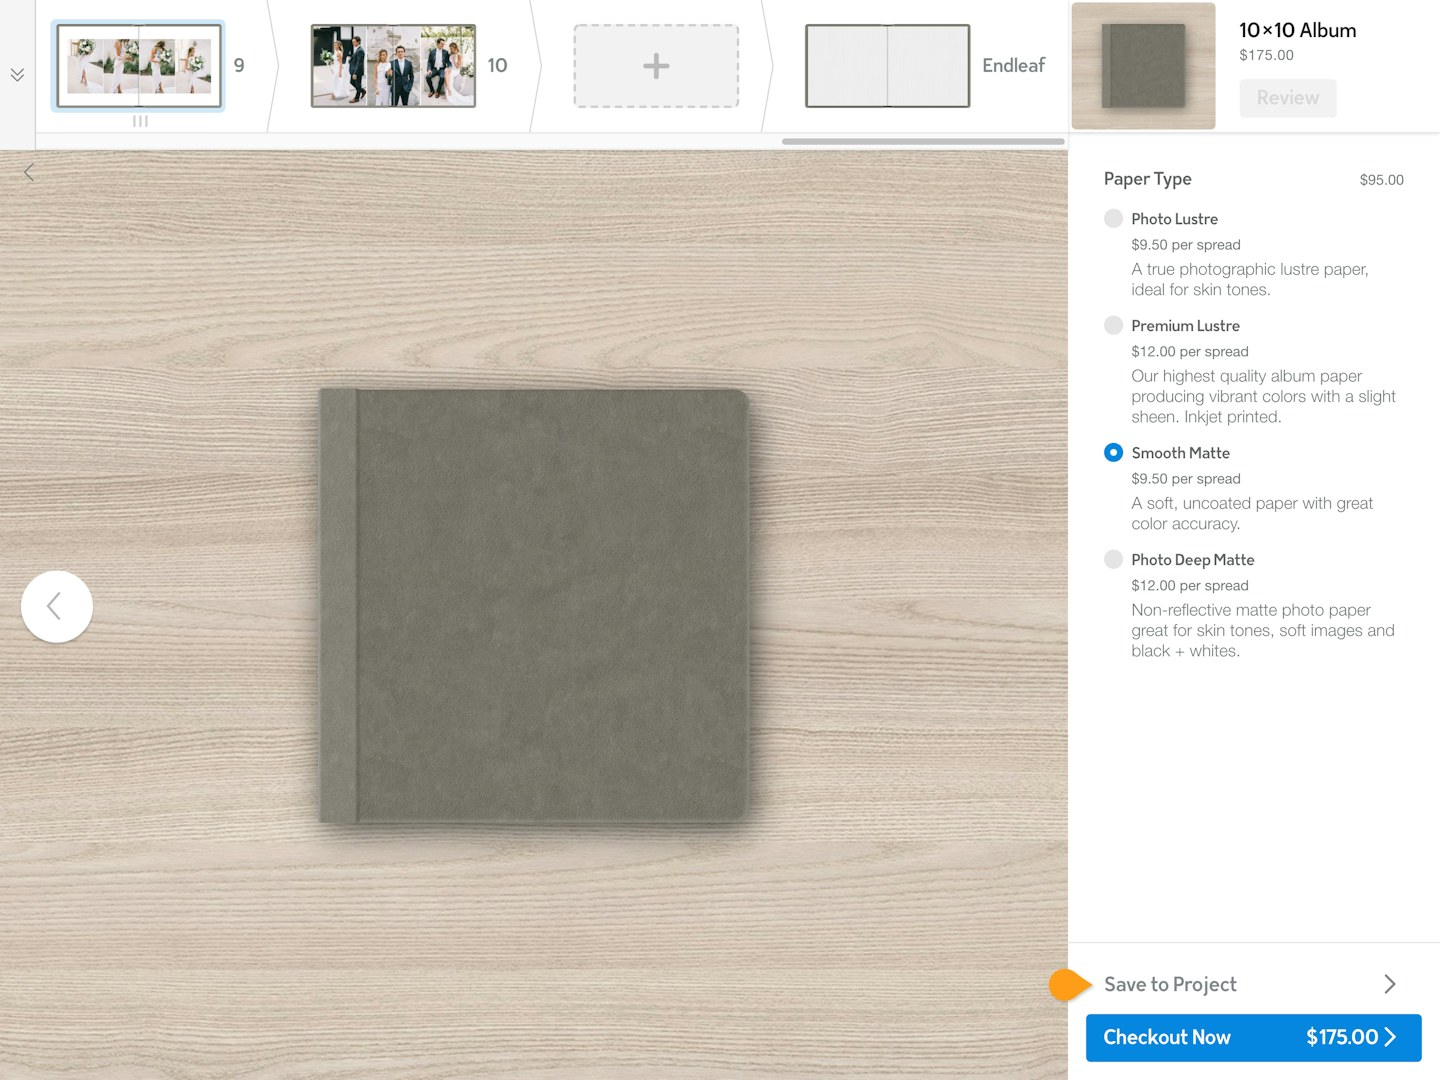
Reviewing
To get a good preview how your album is coming together, select the spread review page and look at everything all at once. You can reorganize the order of the spreads here, as well as delete or add spreads.

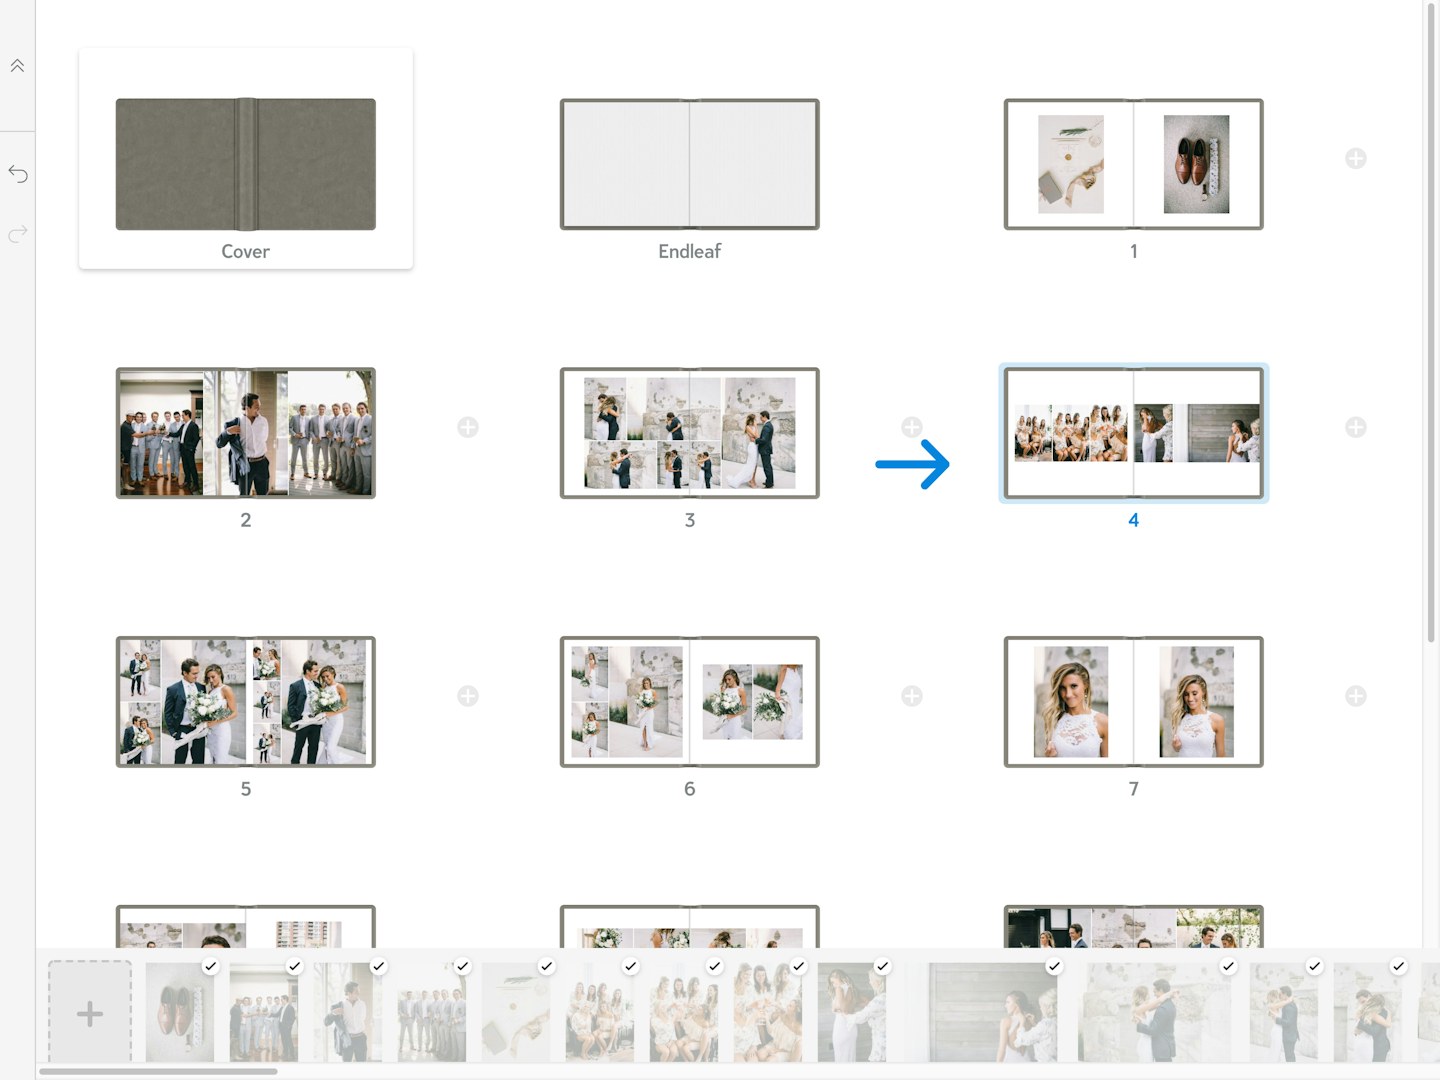
View all of your spreads by expanding the full design view
Adjust the order of your spreads by dragging them.
Checking Out
Once you have finished designing you will click through to the Review screen and choose to Save to Project or Checkout Now button.