


8 Tips for Shooting and Designing a Wedding Album
Use these tips to capture and design a wedding album that tells the full story of your client's day.
Updated on March 4, 2020

8 Ways to Guarantee an Album Sale
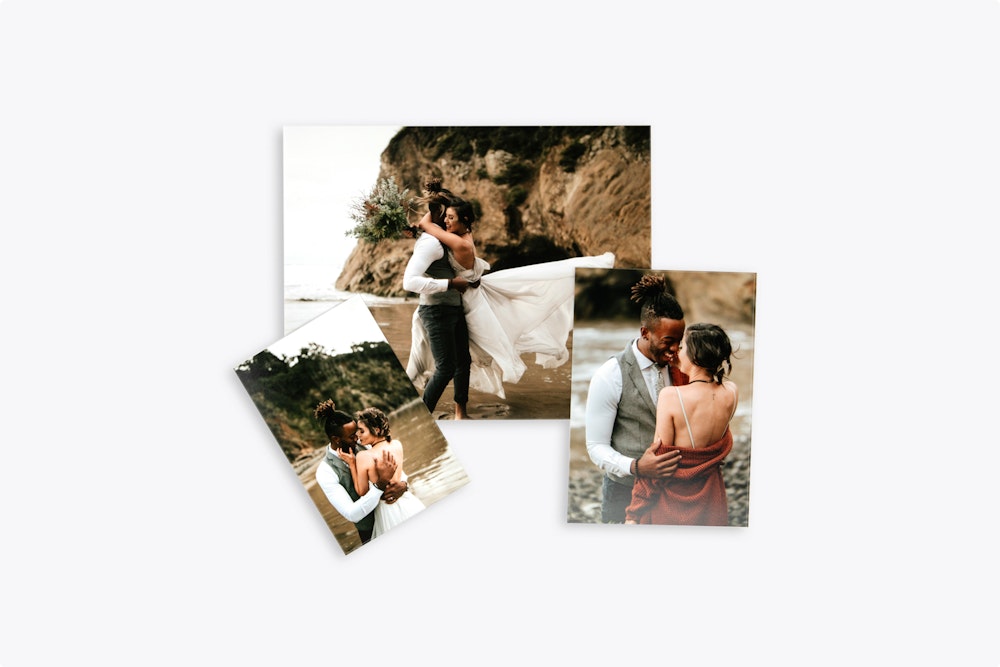
1. Show the day chronologically
Tell the story and show the moments in the order they happened. Show the couple getting ready before any ceremony pictures. This helps your clients connect with the emotions they were feeling at the time, making it like they are reliving their day over again.
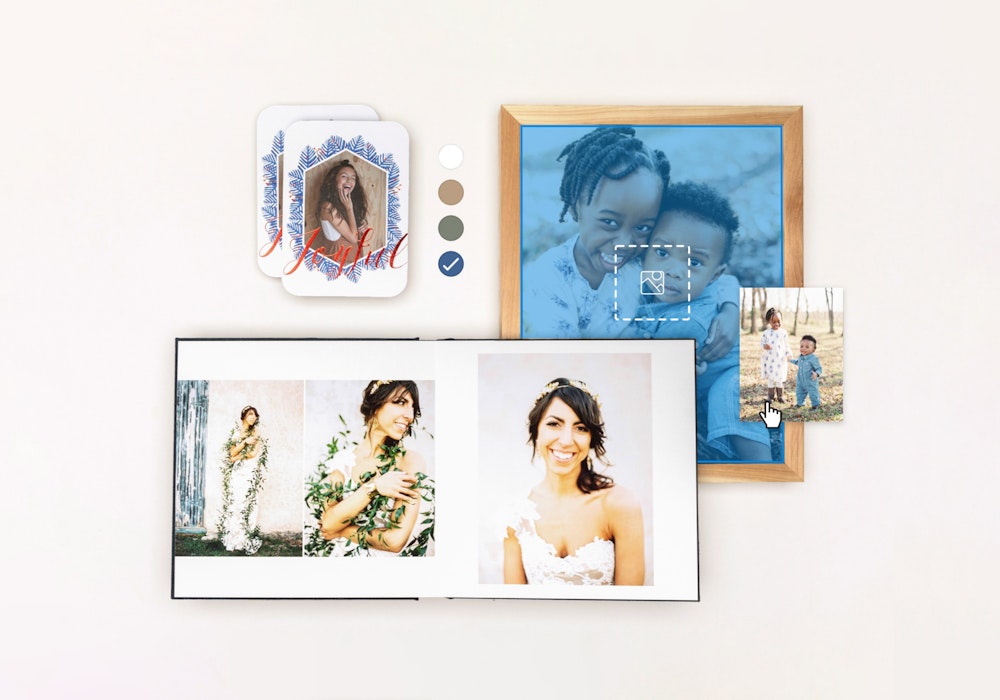
2. Make sure each spread has a main focal point
You want each spread to have an image that draws attention. However you design your layouts, make sure that there’s always a spot to focus on. This ensures that people won’t just flip through the album — they’ll spend time looking at the images and taking everything in. If you’re placing an image that goes across the spread, double check that no important details are lost in the crease.
3. Begin the album with a detail shot
Start the album with a detail shot that encompasses the feel of the day. Whether it’s an image of the rings, wedding decor, a welcome sign, or the invitations, it’s important to incorporate the day’s theme from the start.
4. Include the important candids
People connect to the unplanned, sentimental moments. While couple, family, and bridal party shots are important, the images that the couple will love most are the emotional reactions during the day. These heartwarming shots can be moments such as the bride’s parents seeing her for the first time, the reactions of the bride and groom as she walks down the aisle, the faces of the guests and bridal party during the vows and speeches.
5. Don’t repeat layouts
Flipping through pages of images can feel repetitive. Keep people engaged and don’t repeat the same layout in a row. Follow up a multi-image page with a full spread and utilize different image sizes and orientations throughout the album!
6. Show each family equally
A wedding is about joining two people together and celebrating their love with their friends and family. Make sure the album features each family equally, not showing one side more than the other. If either of the parents of the bride and groom would like a companion album, that’s where you can incorporate more images from a particular family.
7. Keep images consistent
A way to lead your clients through their story is to a harmonious flow with the images. Images together on a spread should be compatible with one another. Pair outdoor images with complimentary outdoor images, and indoor with indoor. If a filter is applied, keep that same filter on every image on the spread. This way, people won’t be distracted by anything that visually throws them off.
8. End with emotion
Every good story ends with a happily ever after. Don’t finish the album with a reception photo of the guests on the dance floor. End it with one that focuses on the couple, summing up their story and representing the day as a whole. When you end with an emotional moment that you captured, all they’ll be able to think is how thankful they are to have had you as their wedding photographer.
Try the tips for your next wedding session and the story you tell will guarantee an Album sale!
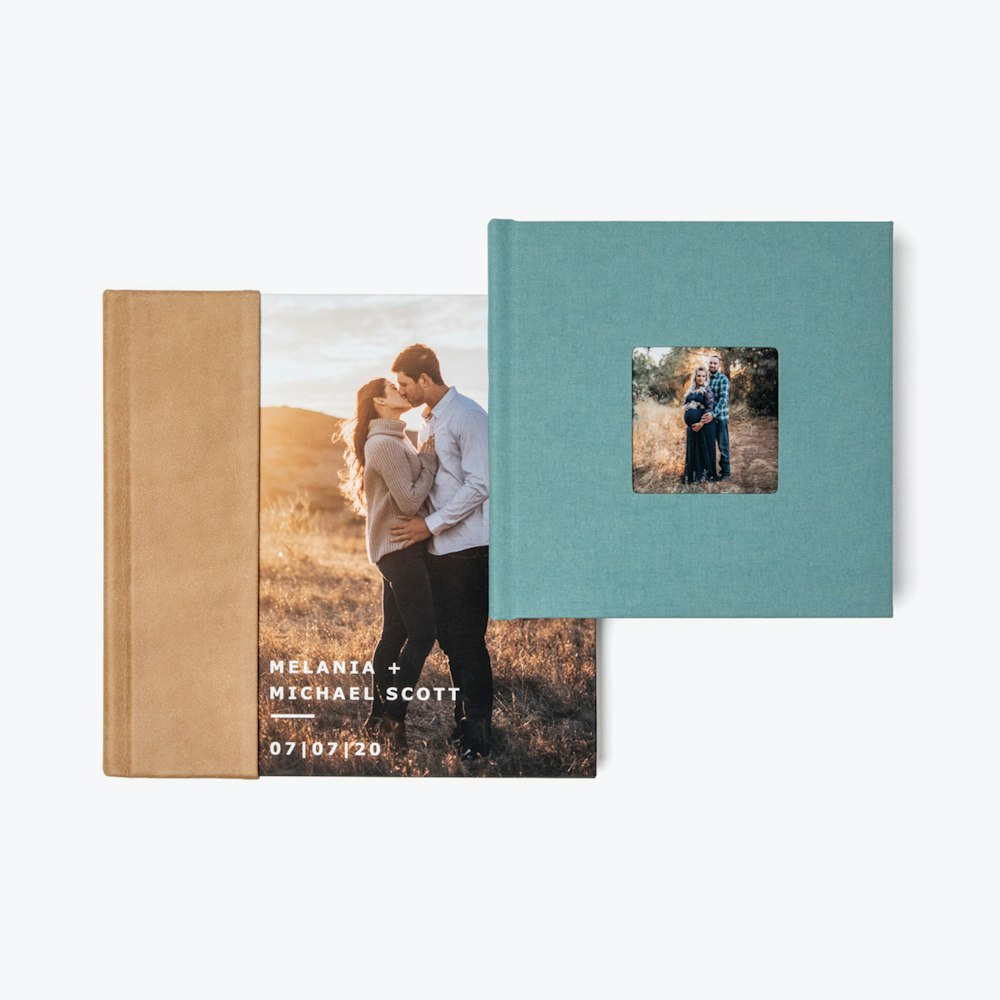
Need Help Designing?
Effortless Album Creation
With our free online designer, you can create and order Albums or Books with ease. This tool provides useful features for automated spread layouts, easy reordering, a client proofing link, and multiple cover styles. Select your size and start designing.
You may also enjoy

6 Business Questions with Sarah Jane
WHCC Spotlight Interview

Why to Specialize in Fine Art Printing
See the reasons why you should invest in high-quality archival prints to elevate your brand.

6 Business Questions with Paul Ruhter
WHCC Spotlight Interview