


Shopify Integration
Sell your imagery and artwork as physical products printed and fulfilled on-demand with our Shopify App.
What You Can Sell
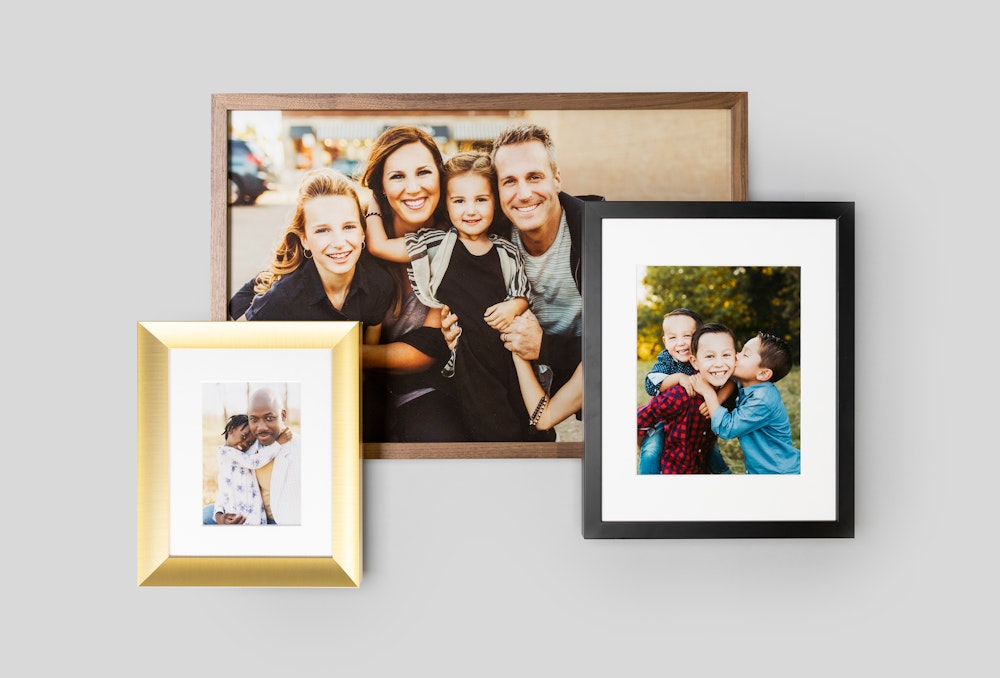
At this time, the WHCC Shopify Integration will allow you to create and sell your images as professional quality Photo Prints, Fine Art Prints, and Wall Art products.
When an order is placed from your Shopify store, this integration will automatically place an order on your WHCC account that drop ships to the address on the order. This is the ideal solution for helping you sell a "stock item," like a framed print or fine art poster, to multiple customers—effectively creating your own custom art shop.
How-to Tutorial
- What's Covered: Integrating a product with the WHCC app for product fulfillment. We recommend using Firefox or Chrome web browser during your setup, as Safari may not be as consistent with the demo.
- What Isn't Covered: This tutorial will not cover creating and customizing a Shopify store in detail, so it is most helpful to anyone experienced in creating and managing a Shopify store.
Installing the Plugin
The app is available exclusively to WHCC clients. Therefore, it is not currently listed in the Shopify Marketplace, so you must navigate directly via the link below to add it to your store.
- Ensure you are logged into your Shopify Account, then use this link to install the WHCC Shopify App.
- Connect your WHCC account by signing in when prompted.


Make sure you have a credit card on file with your WHCC account so orders can be successfully processed.
Create Products
Once your app is installed, it's time to connect products. If you already have existing products you want to link to WHCC, skip to the next step.
- In the Shopify Admin, click Products > Add Product.
- Give your new product a title (you can change it later).
- Click Save.

Connecting Products
Once you have created at least one Product you will connect it to WHCC's fulfillment service.
- Navigate to the WHCC app in the Shopify Admin sidebar.
- Click on Connect Products in the sidebar.
- Make sure that Linked Status filter is not checked in order to view all products.
- Find the product you want to connect and click Link to WHCC.


Don't see the product you are looking for? Be sure to check that the Linked Status filter is not checked.
Customizing Your First Variant
Once your product is connected you can start to customize it. You have access to the full WHCC Loose Print and Wall Art catalog when you enter the designer.
With a brand new product you will see that Shopify has created your first Variant for you. Leave it as "Default Title" for now.
- To start customizing the Variant, click Create New.
- You will be directed to the designer to upload a photo and select product options.

The yellow badge that reads SKU • Fulfillment tells you that you need to visit the product designer to finish setup of your Variant. WHCC connected products need to be assigned a SKU and set for fulfillment with WHCC, which is handled automatically after clicking Save Variant in the designer.
Inside the Designer
Once inside the designer you will have access to all available WHCC Loose Print and Wall Art products, as well as all of their selections.
- Navigate the menus to create the exact product you want to offer to your customers.
- After you have finished in the designer, click Save Variant to return to Shopify.


Create More Variants
In Shopify's admin, you will now see that your first Variant has a green badge that says "Linked". This means that a SKU was assigned and it was set up for fulfillment with WHCC.
- Choose a Variant that has the green "Linked" badge. This will be the base for your new Variant.
- Dropdown Menu > Create New from this Variant.
- You will be directed to a new Variant in the designer, but it will already have the image and options for the Variant you chose as the base.
- Change the size and any other options, then click Save Variant in the designer.
- You will be sent back to Shopify's admin and a new Variant will be created for you.

Update Options in the Designer
It is simple to make changes to a Variant you have already created. Click Customize for the Variant you want to update and you will be directed to the designer. Be aware that any changes you make will be saved immediately, so if you want to experiment with options it is best to create a new Variant and set its status to "Draft" in the Shopify admin.
Renaming a Variant
As you work with the WHCC Shopify app, you will notice that as Variants are created they will be given default titles based on the size of the product (10x10, 12x12, and so on). You can change these names in the Shopify admin.
- Click on the link for the Variant name OR use the dropdown menu and choose Edit Variant Shopify Record.
- In Shopify's admin, edit the title to suit your needs.
Adjusting Pricing
The last step you have will be familiar, it is time to set the prices for your products. When you return to your product, you will see that each variant has loaded with the wholesale price from our designer. Inside the product, you can customize your published price and see the profit margin.
- Click on the link for the Variant name OR use the dropdown menu and choose Edit Variant Shopify Record.
- In Shopify's product admin, change the price for the Variant from the wholesale price to reflect your published price. Enter the wholesale price in Cost Per Item if you would like to see your Profit and Margin amounts.
- Complete this process for each Variant.


Shipping Details & Pricing
Once your products are properly connected, orders will automatically enter into your WHCC Account with a Drop Ship service and your customers address information that they entered during checkout. Our system must have an address included, or the order will be denied for fulfillment.
If an order is to be shipped to the Contiguous U.S. your WHCC Account will be billed for the wholesale cost of the product as well as the $7.95 Drop Ship service fee, so we do recommend that you calculate that into your retail price as you customize your products. We will also accept and ship items outside of the Contiguous U.S. but please be aware of the prices for those options and factor them in accordingly to your pricing. Checkout our shipping help documentation for details on drop ship pricing to other locations around the globe. Finally, please be aware that there are no expedited shipping options available at this time, and all orders will ship with FedEx Ground Economy service or similar.
Advanced Options
Some stores may have requirements beyond the basics presented above. This section details some options that are available if needed, but may not be necessary for most stores, or represent special cases.
Duplicating Products
Shopify offers a feature to duplicate a product and all of its Variants in the admin, and this is an alternative workflow for those who prefer it. When duplicating a product, Shopify also duplicates the SKUs for each Variant. You will need to generate new SKUs for each of your Variants, and upload a new photo for the duplicated product.
- In the Product in the Shopify admin, click the Duplicate button.
- Shopify will create a new copy of your original Product and all of its variants.
- Click on the WHCC app in the sidebar and find the Product that was duplicated.
- You will notice that there is a yellow badge on the Product that was duplicated and the original from which it was copied. This means that you have conflicting SKUs and will need to take action to update them.
- Click the Edit Print Products button on the Product row which was duplicated.
- Each Variant will show a yellow SKU badge and the message "Duplicate SKU".
- Click on the Generate New SKU button for each Variant. This will take you into a copy of the original product in the design tool. Any changes you make will be saved to your duplicated Product Variant, and not to the original.
- Upload a new photo and make any changes to the Variant.
- Click Save Variant when you are done making changes. This will return you to the Shopify admin and assign your new SKU to the duplicated Variant.