


Sell Holiday Cards with Studio
Don’t let your clients send Holiday Cards without you. Studio has everything you need to make your client’s Holiday Card decision easy.
Published on October 6, 2022

With less than 10 minutes of your time and 5 easy steps, you can sell cards today. In this article, we will cover how to set up and customize your Studio Card Shop, as well as provide you with ready-to-send email copy. All you need to do is copy and paste a link, and you can have clients shopping for cards in no time!
5 Easy Steps
- Create Your Branded Card Shop
- Curate Your Favorite Card Designs
- Get Set Up With Stripe
- Make a Project for Every Client
- Send out Marketing Emails
1. Create Your Branded Card Shop
The first step to personalizing your Studio profile is to add your branding. Once finished, your logo and brand color will be displayed across every element of Studio, including your card shop, order summaries, and emails.
- Add your logo and brand color
- Confirm your business name, which will be automatically included on every card design

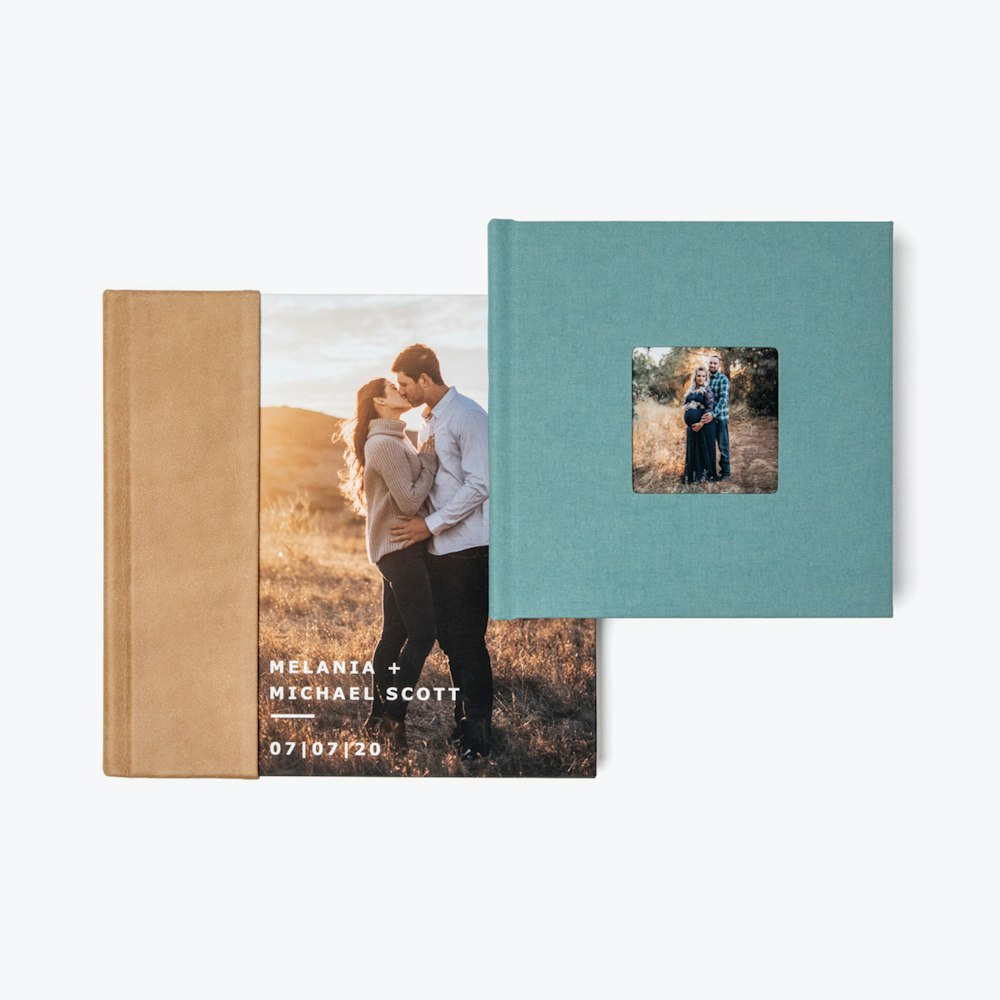
Reach New Clients with Branded Cards
You can have all your card orders automatically personalizing with your Business Name to help reach new clients. Every card exchanged is an opportunity for someone new to fall in love with your images.
Let's Start Setting Up Your Card Shop
Create your first project to set up your free Studio profile. If you are new to WHCC, you will first need to create an account. For additional help with this step, follow our tutorial on how to set up your branding.
2. Curate Your Favorite Card Designs
This step is optional but highly recommended. With hundreds of card designs to choose from, curating that selection down to your favorites can make your clients experience more personal. Adding a custom collection to your Branded Card Shop is easy and will give your client a one of a kind experience.
- Create and name a new collection
- Add your favorite cards
- Assign that collection to a Project to share with your client
Quick Tip — Save Time with Product Duplication
Using Projects in Studio for card sales and design allows you to save your progress and duplicate designs, giving you control over the entire process.
Need some help?
Read our step-by-step tutorial to on making card collections.

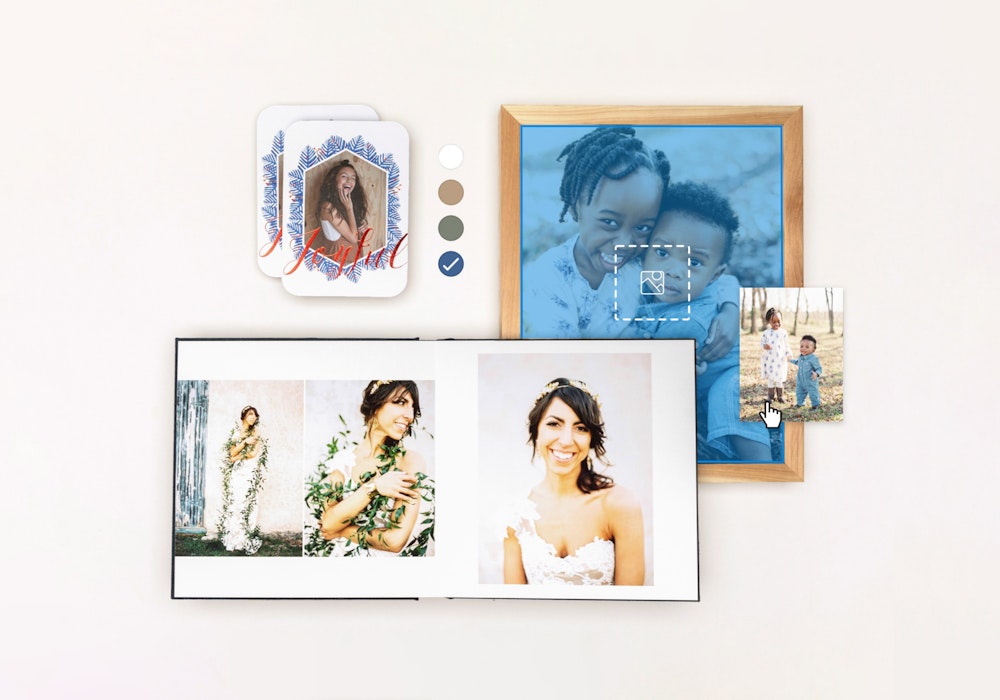
Checkout securely powered by Stripe.

Save time by allowing clients to edit and finalize their own designs.
3. Get Set Up With Stripe
Signing up for Stripe enables your clients to complete and submit their own card orders on time. Stripe is a safe and secure system that collects payment from your client, distributes the cost of goods to WHCC, and then delivers the profit directly to your bank account or debit card.
- Customize your products + pricing
- Set your payment preferences
Ready to get paid?
If you have never used Stripe before, we recommend creating your Stripe business account before connecting it to Studio.
After that, you can connect your Stripe account to your Studio profile.
“Studio has increased my holiday card orders by 90%! THANK YOU!!”
— Shannon, Creative Images Boston
4. Make A Project For Every Client
Now that you have your Studio Settings customized you are ready to start making projects. You can create a branded card shop for each of your clients, complete with a gallery of their images and a collection of card designs to browse and order.
- Make a New Project
- Add a gallery of images
- Assign a Card Collection in the Project Settings
Follow this tutorial to learn how to create a project.
5. Send Out Marketing Emails
Time to start selling—click the “share cards” button in your Project and copy the Card Shop link, then start emailing your clients. Add that link to the message below and watch the sales roll in!
Marketing Email Template
Happy Holidays [Insert Client’s Name],
If you’re still looking for the perfect holiday card to send out, I can help. I have put together a selection of my favorite cards and using the link below you can choose your favorite, customize it with your images from our session, and submit your order!
Check out your card shop [Insert Share Cards Link]
It was such a pleasure working with you, and I look forward to capturing many more memories in the years to come. This year, let’s share those memories with holiday cards for you to send to your family and friends!
Let’s make this season magical!
Warmest wishes,
[Insert Business Sign-Off and Contact Information]
Ready to Get Started?
Explore all the ways Studio can help you create, share, and sell cards.
You may also enjoy

Focused on Success with David Campli
Learn how he thrives through a unique blend of technology, marketing, and community involvement in the Philadelphia suburb of Malvern, PA.

The Science of Beauty with Rod Evans
Learn the elegance of Fine Art editing & Cinematic Color Toning.

The Psychology of Luxury with Lindsay Walden
Learn how she offers clients the most luxurious fine art portrait experience!