Creating A Project
Projects help you stay organized by grouping your gallery of images and the products you create together in one place. Make your first one today!
What You'll Need
- WHCC account number and password
- New to WHCC? It only takes a few minutes to create an account
- A folder of images (up to 600 JPG files, no more than 40MB each)
Create & Name Project
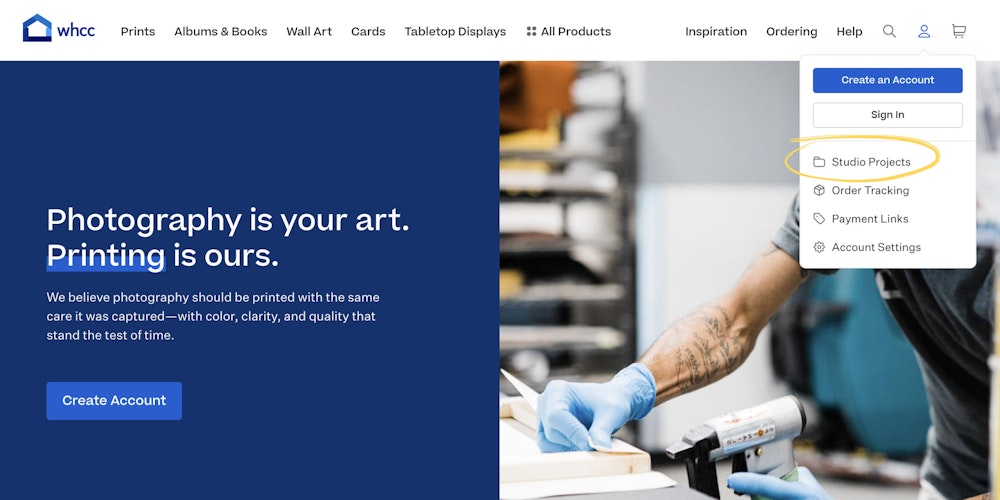
Sign in to your account and then navigate to Studio Projects under the account icon in the top navigation menu.
When you arrive on the My Projects page, use the "New Project" button to start creating a project. Only a name is required to create a new project.




Upload Images
After your project is created, drag and drop or select the image files you would like to upload to the gallery. Once the upload is complete, you can navigate to the Products tab to create new products using these images.


