


Multi Product Ordering
Add more products to a single product session to view and edit side by side.

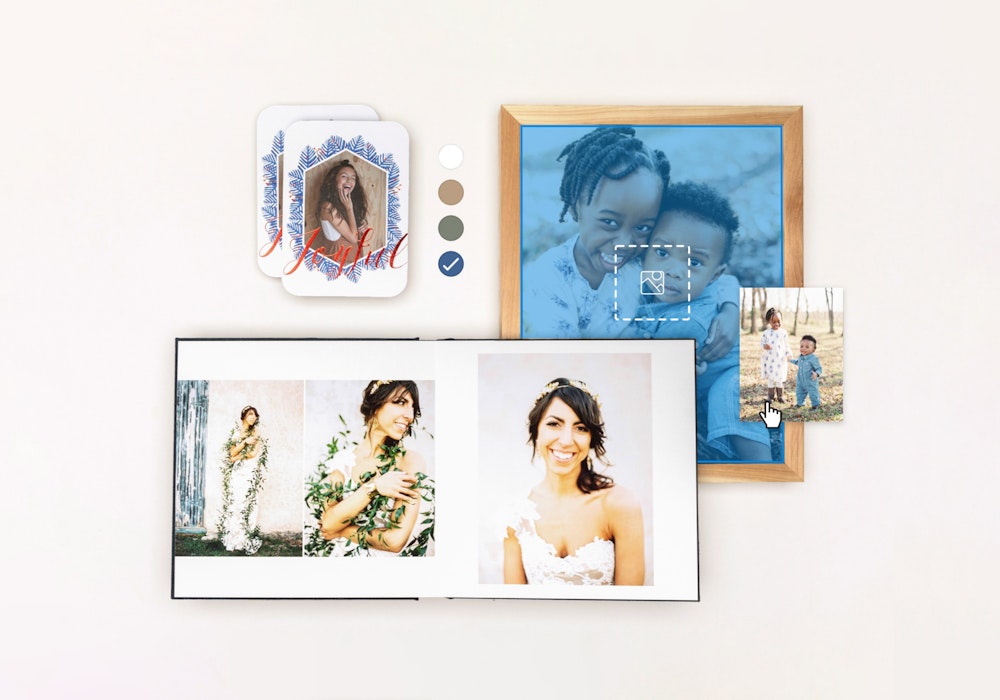
What is Multi Product Ordering?
Multi Product Ordering lets you add up to 300 products to a single editing session when ordering online.
Each product is fully independent—you can assign different:
- Images
- Sizes
- Product types
- Product options
- Quantities
This makes it easy to build an entire order in one sitting, whether you're creating a set of prints for a client or wanting to explore a set of images on a variety of product types or print surfaces.
You can mix different product types or attributes in the same session. For example:
- 60 Photographic Prints with different images
- 3 images on different Photographic and Fine Art Print surfaces
- 12 Standouts with different images
Building a gallery wall collage? Use our Gallery Wall Designer to arrange multiple Wall Art products to scale within a custom scene.
Starting a Multi Product Ordering Session
Start from the Workspace

- Open any supported product in the online designer.
- Click + Add Product in the lower-left corner of the workspace.
- The editor switches to Grid View and adds a second product card automatically.
- You are now in Multi Product mode and can continue adding products.
Working with Multiple Products
Adding Products
- From the sidebar:
- While in Grid View, click Add Product in the sidebar header next to the total price.
- A new product card is added to the grid.
- In the main grid using the add card:
- In Grid View, a dashed-border card with a + icon appears at the end of the product list.
- Click it to add a new product.
- From the image gallery with drag and drop:
- Select one or more images in the Gallery panel.
- Drag the selected image(s) onto the workspace area (not onto an existing product).
- A new product is created for each image you drop.
Selecting and Editing a Product
Click any product card in the grid to select it.
The sidebar updates to show that product’s options, such as:
- Size
- Surface
- Finishing
- Other settings
Each product can be configured independently.
Switching Product Types
- Select a product in the grid.
- In the sidebar, click the product name or Switch Product at the top.
- The Switch Product drawer opens, showing available products grouped by category.
- Select a new product type.
Your image and size will carry over where possible.
Removing a Product
- Select the product in the grid.
- Use the delete control to remove it from the session.
Other products remain unaffected.
Adding Images in Bulk
Select All Images
- Open the Image Gallery at the bottom of the editor.
- Click Select All in the gallery header.
- Drag the selected images onto the workspace.
A new product is created for each image.
Multi-Select Images
- Hold
Cmd(Mac) orCtrl(Windows). - Click individual images to select them.
- Drag them onto the workspace.
Products will be created in bulk.
Reviewing and Ordering
When your products are ready:
- Click Review.
- View a summary of all products, options, and total price.
- Make final adjustments or proceed to checkout.
Session Limits
| Mode | Maximum Products |
|---|---|
| Multi Product Grid Mode | 300 |
| Gallery Wall Arrangement Mode | 20 |
FAQs
The new product starts as a copy of your current product’s type and settings.
You can then change:
- Image
- Size
- Product type
- Product options
- Quantity
Yes. Each product card is independent. You can combine:
- Photo Prints
- Fine Art Prints
- Framed Prints
- Any other supported loose or wall art product type
No. You can use the same image across multiple products or leave a product without an image and assign one later.
Yes.
Use Select All in the gallery, then drag the images onto the workspace. One product will be created for each image.