MENU
Close

Calibrating a Wall

Insure that images of your clients home will accurately display product size by making sure an inch equals an inch.

Import Your Image

Once you have an image of a room, it's time to get it onto your iPad. You can airdrop the file to your iPad, or store it somewhere in your iCloud library.

Recommended Article

Photographing a Wall

For tips on photographing a wall, click the link below.

Learn More
Tap the Painting icon and select the Scenes section from the menu. Then tap the + button under Project Scenes to add your own image.
Choose your preferred selection method from the menu and locate the image.

Calibrate

Once your image is loaded you will need to calibrate it so that 1" equals 1" and so that your image previews will be accurate.

Drag and drop one edge of your digital ruler to match the outside edge of your object of scale, in this case, its a piece of paper.
Drag and place the second edge so that both are aligned evenly on the outside of your object. The tool will give you a zoom view.
Once your digital ruler is placed, adjust the measurement showing at the bottom of the screen to match your object measurement.

Add Products

Your wall is ready! Once your calibration is complete you can begin to drag and drop images onto your wall and adjust their product selection.

Recommended Article

Start Designing

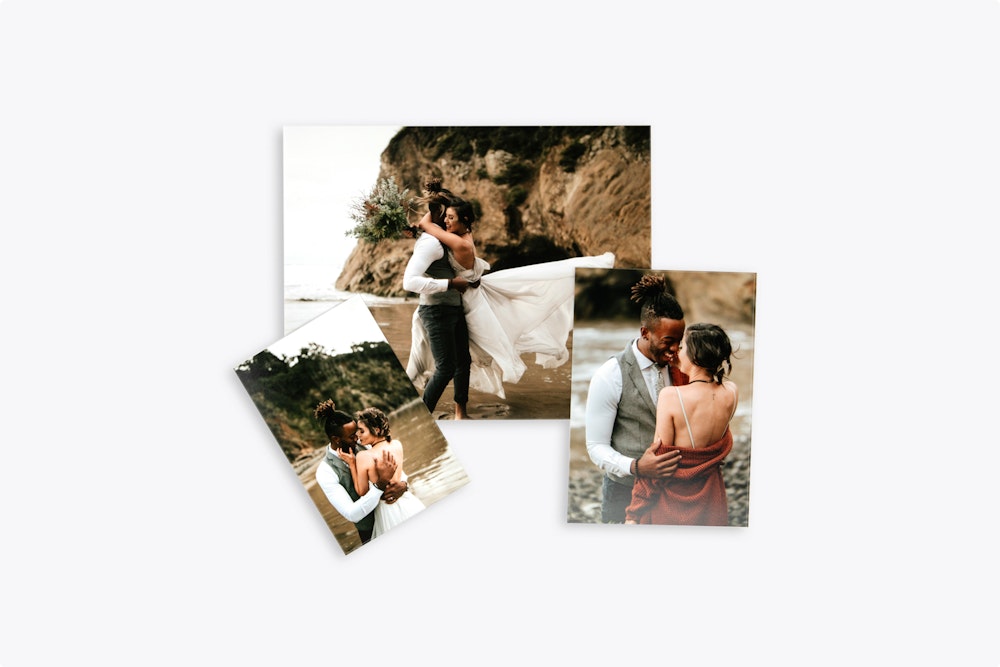
Now that you have your wall, its time to build your wall collages.
Learn More
Tap and hold an image while dragging it up onto your wall. It will create a new product.
Adjust the size and product specifications using the product menu across the bottom of your screen.